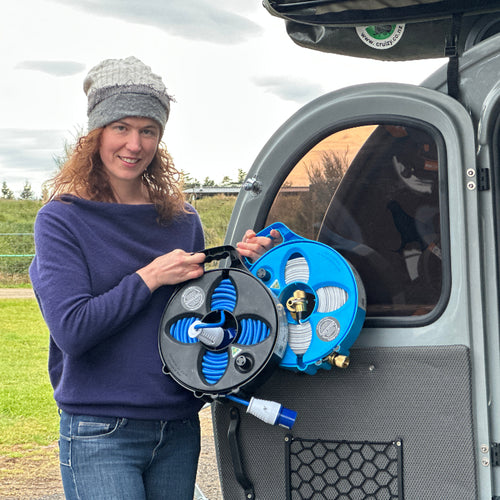
Join Zoe, the owner of Flat Out, in this 1-minute video where she welcomes you and help you get started.
Welcome to Tangle-Free Tidiness!
Congratulations on your new Zone RV! This is such an exciting time, and we’re thrilled to help you get started with your Flat Out gear. We’ve designed this page to make setup and ongoing use of your connections kit as straightforward as possible.
Start with the video above/left—it’s the best way to get a complete overview of your new equipment and how to make the most of it. Then, explore the sections below to find helpful tips, and quick-reference images tailored to each part of your setup.
Here’s to hassle-free caravanning and exciting times ahead!
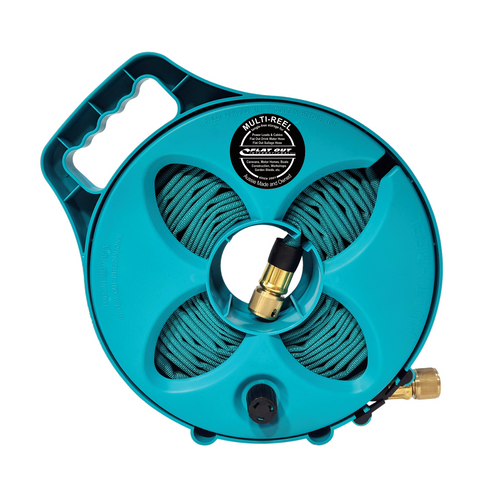
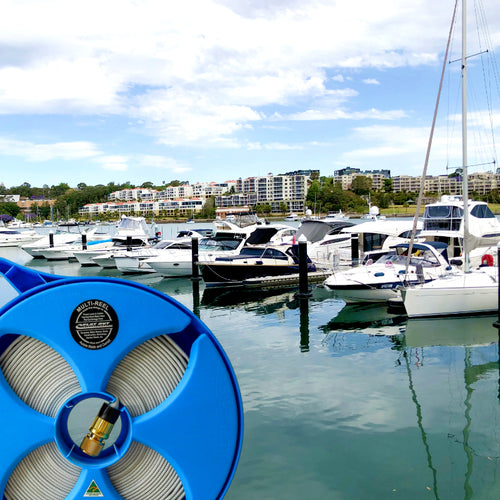
Join Zoe as she shows you how easy it is to set up your new Drink Water Hose, included with your Zone RV. This durable, Australian-made hose is stored on our Multi-Reel for hassle-free unspooling and compact, drip-free storage. Built to deliver high-capacity, safe drinking water, it’s the perfect solution for your caravan adventures. Let Zoe guide you step-by-step to make your next trip convenient and tangle-free!

15m Premium Flat Out Drink Water Hose (2 x 7.5m lengths) on Compact Multi-Reels
For a reliable and efficient drinking water connection.

1.5m Premium Flat Out Drink Water Hoses
Ideal for connecting your water filter to your caravan.

Hose Joiner: Snap-on Brass 12mm
Used to join 2 x drink water hoses with snap fittings.

B.E.S.T Silver Safe Inline Water Filter
Ensuring clean, safe water for your adventures.
Seasoning the hose
Before using your new hose for the first time, it is a good idea to season your hose.This helps remove any potential residue left over from manufacturing. Here's how:
- Attach and Pressurize: Connect the hose to your outdoor tap and attach a trigger sprayer to the end. Turn on the water and pressurize the hose fully.
- Sun Exposure: Leave the pressurized hose in direct sunlight for a few days. Each time you walk past, simply discharge about 5 liters of water. This helps flush out any remaining debris.
Rest assured, leaving your hose in the sun won't damage it. As it is designed for continuous use and sunlight exposure.

Excess length of hose between tap and van
- Attach the hose to the tap, and unspool full length of hose towards your van
- Make a coil (about 0.7m diameter) under your water inlet with the excess length
- Connect to van water inlet
- Turn on tap to add pressure
- gently release any kinks that may initially form when pressurising

How to pack away your flat out hose
Top 4 tips for super easy hose packup onto Multi-Reel every time:
- Lay the hose flat and straight before starting to wind it onto the reel. This prevents kinks and makes for a smoother, faster rollup.
- Give the hose a few minutes to drain any excess water.
- Simply spin the Multi-Reel handle when you approach a twist in the hose. This flattens the twist onto the reel, preventing it from tightening and potentially causing a snag later.
- While winding, apply light tension to the hose about halfway between the reel and the end you're holding. This creates a smoother, tighter coil and prevents the hose from bunching up.
How to clean your drink water hose
If the exterior of your hose gets muddy you have two methods for cleaning it.
- Method One: Put it on the tap, straighten it out and put a garden trigger sprayer on the other end, then once pressurised, spray back along the hose to wash off any muck.
- Method Two: Leave it off the multi-reel and put it in a bucket - be sure to join the ends of the hose with a hose joiner (pictured) so that none of the water gets inside the hose. Then use some mild dish detergent and a soft brush.
Avoid cleaning chemicals as even if the polyester weave can handle them you don't want to accidentally damage the liner beneath.

Other Care Tips
- When not in use, always store in the Multi-Reel.
- Please use a filter first if using bore water. Water with high mineral content could weaken the lining material over time and shorten the lifespan of your hose.
- If using to fill a tank, pressurise the hose before flow into the tank so any kinks work themselves out.
- If using for a shorter distance than the hose, coil surplus length about 1m diameter before connecting the second end.
For more information about Drink Water Hose click here
In this video, Zoe, the owner of Flat Out, will guide you through using your new Sullage Hose, included with your Zone RV. Made from heavy-duty elastomer, this hose rolls flat onto our Multi-Reel for compact storage and expands automatically for high-flow grey water disposal. The smooth finish resists debris buildup, while end plugs prevent leaks and odors during storage. Watch now and enjoy a seamless water management setup with your caravan!

32mm Flat Out Sullage Hose: 9m on Original Multi-Reel
For easy wastewater management.
Includes: 9m total 25mm hose (3m plus 6m), Original Multi-Reel, 2 Ends-Caps, 1 Barbed straight hose joiner and 1 Barbed elbow drain adaptor.
How To Set Up & use


How To Pack away


For more information about Sullage Hose click here
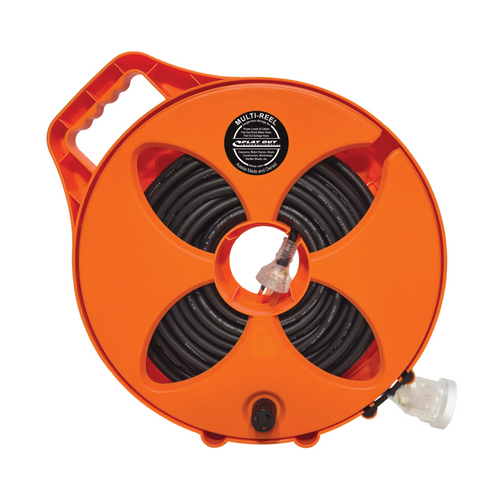
This is a premium extension lead—flexible, UV-stable, and waterproof—a proper outdoor RV lead. Its outer layer is made from silicone rubber rather than stiff PVC, giving it zero memory and making it incredibly easy to pack away. For years, we sold empty Multi-Reels designed for standard hardware store leads. But more recently, we realised there was an opportunity to create something better—so we did! This lead was developed with feedback and support from Tofty at Zone, so you can trust it was purpose-built and made with care—just for you, the first to use it.

15amp Extension Lead: 20m on Narrow Multi-Reel - Hot Pink
UV Stable Flexible Silicone Rubber, Outdoor Rated
Includes: 20m Premium 15amp Extension Lead and Narrow Multi-Reel - Hot Pink
How To Operate
The winding and unwinding process is the same whether you are rolling a power lead or hose, or any other application you have for Flat Out Multi-Reel or Compact Multi-Reel.
How To Wind Up


How To Unwind


For more information about Extension Lead click here
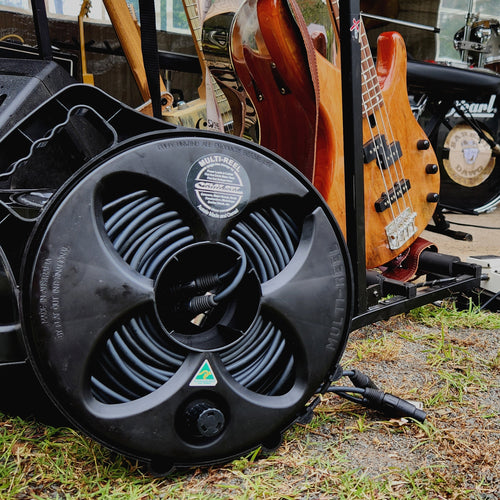
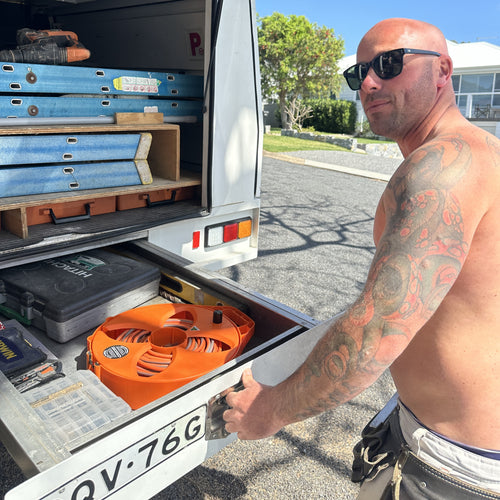
Discover the versatility of the Flat Out Multi-Reel—a simple, innovative solution for tangle-free storage and long-lasting gear protection. Originally designed to store Flat Out hoses, the Multi-Reel has also proven perfect for power leads, cables, cords, and more. Compact and easy to use, it’s a game-changer for campers like you. Watch Zoe, demonstrate how it saves time, protects your gear, and keeps everything tangle-free!

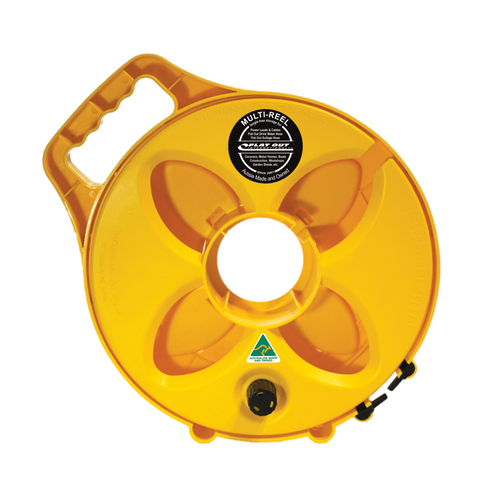
Flat Out Compact Multi-Reel - Aussie Gold
Adaptable for either
— up to 15m heavy duty extension lead,
— 20m of 10amp appliance lead, or
— factory-issue Starlink cable.

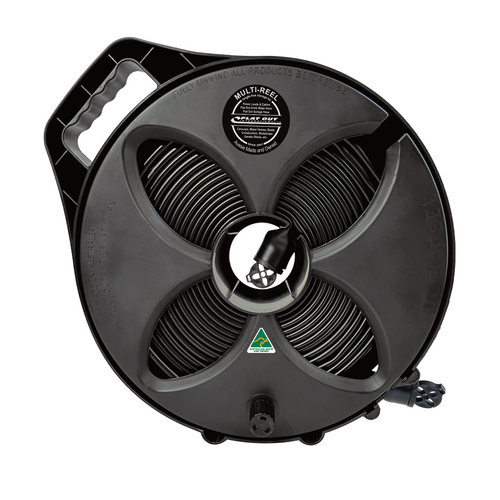
Flat Out Compact Multi-Reel - Matte Black
Adaptable for either
— 25m factory-issue Starlink cable
— 10m string of led fairy lights (we know you love them!)
— any other cable of your choosing that needs protection & simple storage
How to Stack
To achieve the compact stacking you see above, reels must be stacked front to front as shown below. Align the winding knob of one reel with the petal of the other as you close them in together.


Starlink Cable Loading Suggestions
A. Find the middle of the lead, add conduit and bend it into the centre core. Wind it in doubled up.

or B. Keep 1 meter free and bundle it in the centre for storage, that way you can connect to your dish without taking the whole length out.


For more information about Multi-Reels click here
And that’s a wrap! Thank you for joining us on this journey of tips and guides to help you get the most out of your Flat Out products. We couldn’t be more excited for you! If you ever need assistance, don’t hesitate to reach out—we’re always here to help. Be sure to follow us on social media for updates, fresh tips, and to share your experiences with us. Welcome to the Flat Out family—we’re thrilled to have you on board!

